Twin Bouncer Setup: Safe Positioning & Space
By Sofia Alvarez • 4th Apr
Raising multiples in a small home feels like a geometry puzzle with no solution. You need a bouncer setup for twins that doesn't consume your entire living room, but you also need each child to have a secure, comfortable place to settle while you tend to the other. The good news: a multiples bouncer setup is simpler than it looks; it's really just about choosing the right tools, placing them with intention, and building a routine that keeps both babies settled without needing to rebuild the room every two hours.
This guide walks you through the decisions and placements that actually work in tight quarters. No complicated rigs. No guilt if babies don't nap perfectly. Just realistic steps to keep twins safe, contained, and soothed while you find a moment to breathe.
Step 1: Choose Bouncers That Fit Your Footprint
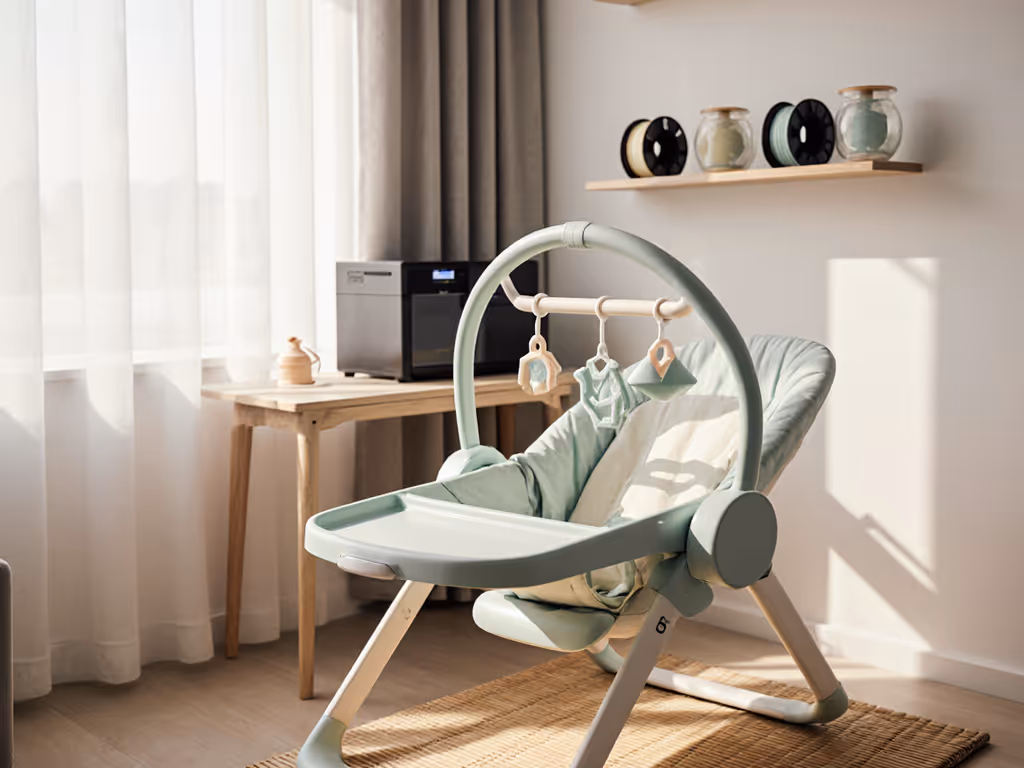
Before positioning, pick gear that earns its space. Look for lightweight, fold-flat designs (bouncers that weigh under 10 pounds and collapse to 24 inches or smaller). This is non-negotiable in a small home. You'll want to move them easily between rooms or stash them behind a door.
Focus on these features:
- Breathable mesh seat fabric. This matters far more than you think. Mesh keeps skin cool, reduces overheating worry, and dries in minutes after cleaning. Standard cotton or polyester traps heat and takes hours to dry, a real friction point when you have twins and limited counter space. For fabric choices, see our mesh vs cotton guide.
- Removable, machine-washable covers. Blowouts and spit-up are inevitable. You need covers that come off in ten seconds and survive a normal wash cycle without shrinking or fading.
- Non-slip, weighted base. Even lightweight bouncers need a stable, low center of gravity. Look for rubber feet and a frame that won't tip if a sibling climbs nearby.
- Adjustable recline positions. A newborn bouncer with just one angle limits longevity. Seek at least two settings so the seat grows with each child from newborn to toddler.
If budget allows, some parents choose identical models (same footprint, same cleaning routine). Others stagger by size, a compact bouncer in the kitchen where you cook, a slightly larger one in the living room for when you need eyes-on time. Either way, measure your spaces first. A 26-inch-wide bouncer in a 30-inch doorway is the difference between "I can move this daily" and "This lives here forever."
Step 2: Map Your Room Zones (The Visual Reset)
Your layout is not random. It's a tool for calm. Before you place bouncer one, think about how you move through your home during a typical two-hour window.
Identify your anchor points:
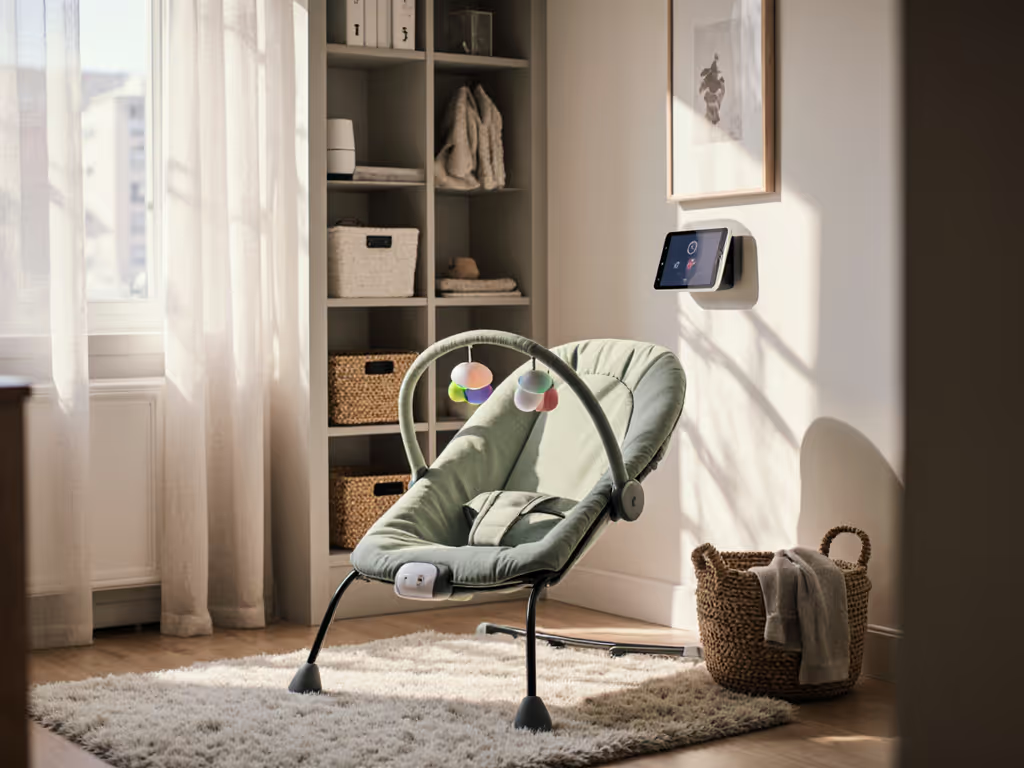
- Kitchen prep zone: This is where you handle bottles, food prep, or coffee. Place one bouncer in a doorway or against a wall with a clear sight line. You're standing, so you'll glance often. The bouncer should be within arm's reach of your dominant side so you can offer a pacifier or gently rock without pivoting.
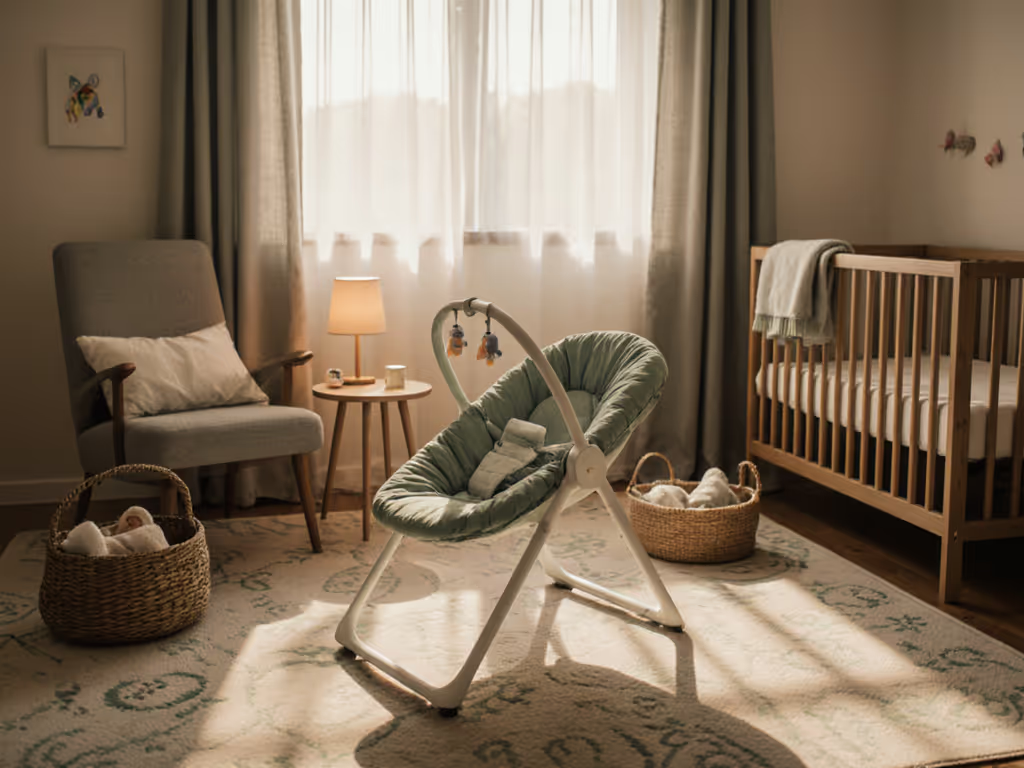
- Work or rest zone: If you WFH or need a feeding spot, position a second bouncer where you can sit and see both. A living room corner or bedroom corner works. If you work from home, get placement ideas from our WFH bouncer setup guide. Make sure it's away from cords, pet bowls, or sunlight that shifts throughout the day.
- Visual "reset line": This is where I cue the start of a soothing window. It might be as simple as: bouncers face the doorway (not the TV), lights dim to 40%, and a single speaker plays soft music or white noise. You're not building an elaborate setup. You're signaling: this is the calm corner.
Sketch this roughly. It feels silly, but a 60-second sketch of your room with two "X" marks stops you from moving bouncers three times on day one.
Step 3: Position Bouncers for Safety and Accessibility
Once you know the zones, place each bouncer with these rules: For more detail on angles and placement, review our bouncer positioning tips.
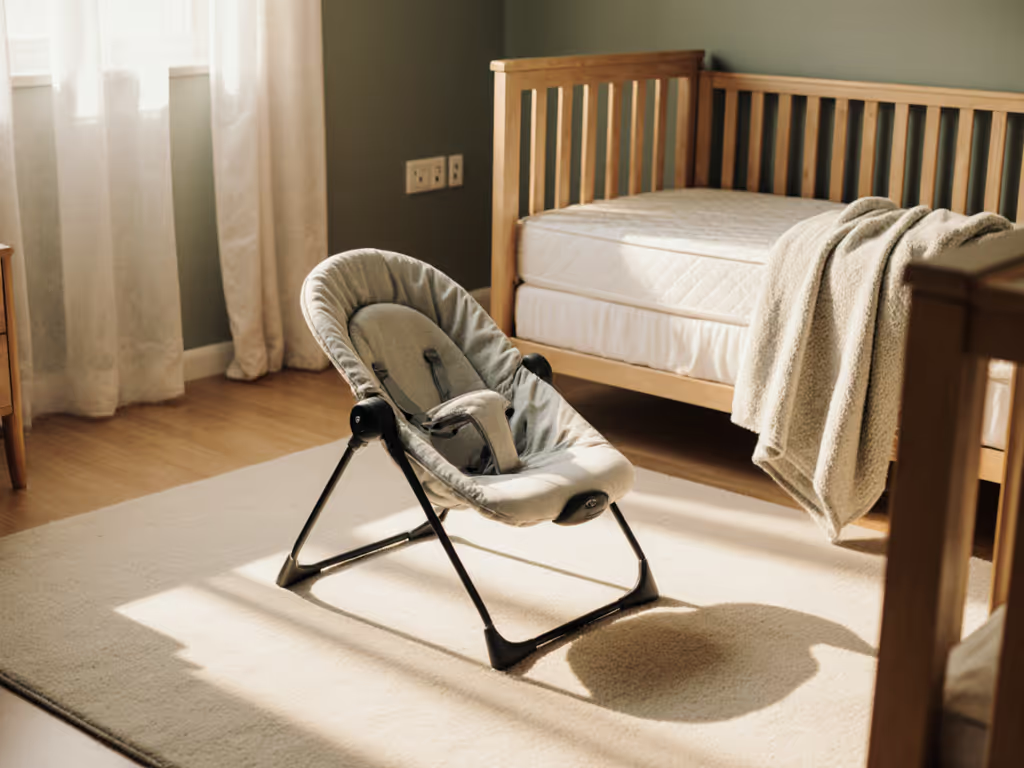
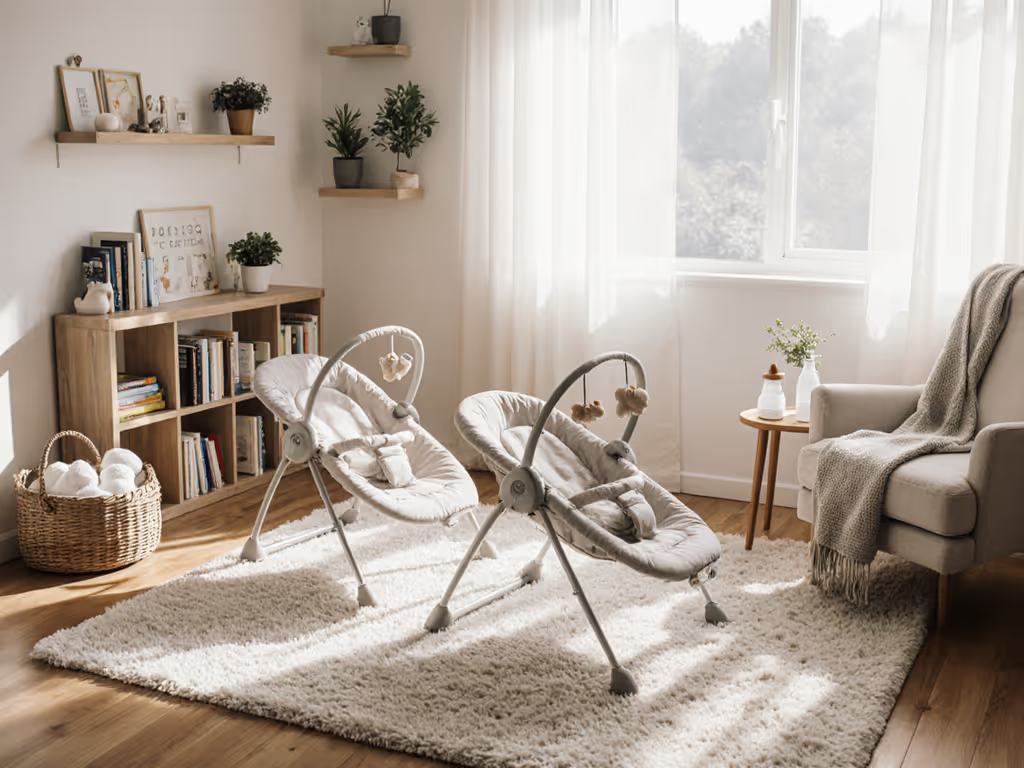
Clearance and distance: Leave at least 24 inches between bouncers (so neither rocks into the other) and 12 inches from walls or furniture. This prevents one baby from grabbing a sibling's head or legs while bouncing. If your space is tighter, stagger them lengthwise (one toward the wall, one toward the room) rather than side-by-side.
Surface and feet: Place both on a hard, level floor (not carpet or rugs, which compress unevenly). Check that all four feet sit firmly flat. If you live on a creaky old floor, a rubber-backed yoga mat under each bouncer absorbs vibration and sound, reducing noise transfer to neighbors or other sleeping children.
Sight lines: You must see both babies from where you stand most often. If you cook facing the wall, rotate one bouncer so you catch both in your peripheral vision. If you sit to feed or pump, position them so a simple head turn confirms both are settled. Accessibility trumps aesthetics here.
Sunlight and heat: Avoid placing bouncers in direct sun or near radiators. Even mesh fabric gets warm. Rotate positions seasonally if needed (kitchen in winter, shaded corner in summer).
Step 4: Build a Two-Bouncer Routine (Your Anchor)
Here's what I learned with my second: two-song windows beat twenty-feature remotes, every single time. A simple, repeatable sequence makes your twins feel secure and frees your hands for essentials.
Create a cue sequence:
- Lower the light. Use a single smart bulb or lamp in the room. Dim to 50%. This takes five seconds and signals "settle time" to their nervous systems.
- Move to your anchor. If cooking, start the kettle or prep bottles in the zone closest to the first bouncer. If sitting, settle into your chair or bed with the second bouncer in view.
- Gentle placement and words. Lower each baby into their bouncer with a single, quiet phrase: "Here's your spot" or just a soft hum. No narration. No eye contact that overstimulates.
- Start the rock or motion. Give each bouncer two or three gentle pushes. Most will continue naturally for 10-15 minutes. You don't need to stay engaged; just initiate.
- Use white noise or soft music (one source, low volume). A rain sound or simple guitar track, not a stimulating app with colors or alerts. The noise masks household sounds and creates a bubble of calm. Reset the room around this anchor.
This sequence (dim, settle, rock, listen) takes 90 seconds and buys you 15-20 minutes of hands-free time. That's a shower, a meal, a shower and a meal. No overthinking. No waiting for "the perfect moment."
Step 5: Manage Cleaning and Rotation
Mesh and machine-washable covers only work if you actually use them. Build this into your routine:
Weekly refresh: Remove both covers once a week (yes, even if they "look clean"). Toss them in the washer on a gentle cycle, warm water, mild detergent. While they dry (30-45 minutes), wipe the frames and bases with a damp cloth. For step-by-step care, follow our bouncer cleaning guide. This is fast, low-friction maintenance.
After blowouts or spit-up: Remove the cover immediately. Rinse in cool water before washing to prevent stains from setting. If your washer is far from the bouncers, keep a spray bottle of mild soap and a soft brush near your anchor points for quick spot-cleaning while the cover dries.
Alternate or rotate positions: Every two to three weeks, swap which bouncer lives in which zone. This prevents one from becoming "the kitchen bouncer" and the other "the rest bouncer." Babies stay flexible, and you distribute wear evenly.
Step 6: Safety Checks (Weekly)
Small bouncers, shared spaces, safety is everything.
Before each week:
- Inspect the base for cracks or loose fasteners.
- Check that the frame isn't tilted or wobbling.
- Ensure the harness buckles click fully and aren't worn.
- Confirm mesh or fabric isn't torn (a small hole can snag a finger).
- Verify the reclining angle hasn't drifted and is secure.
- Look for any smell (mold in mesh or fabric) and air-dry both bouncers after washing.
If something feels off, don't bounce. Swap out the bouncer and inspect it fully.
Putting It Together: Your First Day
Take one day to rehearse. Place both bouncers. Dim the lights. Put on soft music. Lower each baby in and start the gentle rock. Stand there for five minutes and notice what you see, hear, and feel. Can you reach both? Is the light the right level? Does the noise cover the neighbor's TV? Is your sight line clear if you step into the other room?
Adjust now, move a bouncer 18 inches left, swap which one faces the doorway, add a second speaker if the music feels too faint. This small rehearsal prevents days of friction later.
Then use it. The first real bouncer window will feel odd. You might check on them every 30 seconds. That's normal. After three days, you'll trust the routine. After a week, you'll find yourself using it automatically: bouncers down, lights dimmed, kettle on. That's when calm becomes designed and repeatable.
Your Next Step: Measure and Choose
Take a tape measure to your three key zones, kitchen, rest spot, and any secondary room, and note the width and depth available. Then search for fold-flat bouncers with breathable mesh under 10 pounds. Read reviews for noise level (search for "decibels" or "quiet") and cleaning ease ("cover comes off easily," "machine washable"). Order one, place it, and live with it for two weeks before ordering the second. Need product picks? Start with our best bouncers for twins to find two that fit your space and routine. This gives you real data about how the first one fits your life before you commit to two.
Related Articles